Introduction:
The Plasmacar is a popular ride-on toy enjoyed by children across the globe. Built for fun and durability, it combines engineering with ingenuity to create countless hours of entertainment. If you have just received a new Plasmacar toy and are unsure how to assemble it, don’t worry – we have you covered. In this article, we will walk you through nine steps to get your Plasmacar assembled and ready for playtime.
Just remember, education is the doorway to happiness. To receive a good education, you will need good teachers. Also, you will need to be up on the latest tech.
Step 1: Unbox and Organize the Components
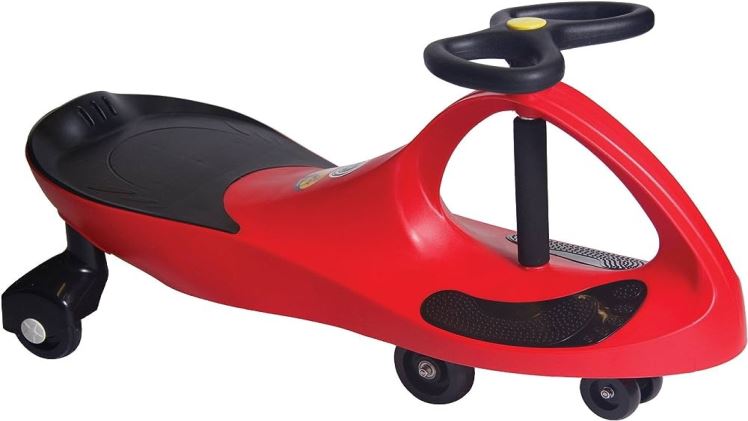
Begin by opening the box and carefully removing all the pieces. It’s a good idea to lay everything out on a flat surface, like a table or the floor, so you can see every component. You should find: the main body, two front wheels, one rear wheel assembly (with two wheels), two steering arms, two steering knobs, one steering column, one steering wheel, and assembly hardware (screws and washers).
Step 2: Attach the Steering Column
Insert the steering column into the hole at the front of the main body. Make sure that it is properly aligned and pushed all the way down into place.
Step 3: Attach the Steering Arms
With your steering column now in place, begin attaching your steering arms by sliding them onto either side of the steering column. Rotate them until they lock into place.
Step 4: Attach Steering Knobs
Next, secure both steering arms by screwing on their respective steering knobs. Twist these knobs clockwise until they are tight and secure.
Step 5: Fixing the Steering Wheel
Now it’s time to attach your steering wheel to the top of your steering column. Line up the holes in the steering wheel with those on the top of the steering column before securing with screws provided.
Step 6: Rear Wheel Assembly
Moving on to the rear wheel assembly, locate the two wheels that are connected by a metal rod. Place this assembly between the two slots at the back of the main body, with the wheels facing downwards.
Step 7: Front Wheels
To install the front wheels, first slide one washer onto each wheel’s axle. Next, insert these axles into their respective holes in the main body, ensuring that they are pushed all the way in.
Step 8: Secure Front Wheels
Finish securing your front wheels by fitting a washer over each axle and then tightly screwing on each axle cap. Make sure that they are secure but still allow movement of the wheels.
Step 9: Final Inspection and Adjustments
At this point, your Plasmacar should be fully assembled. Do a final inspection to ensure that everything is tightened correctly. You may need to make small adjustments for individual components to guarantee smooth movement and optimal performance.
Conclusion:
And there you have it – your new Plasmacar toy is assembled and ready for action! With these nine simple steps, you should now have a fully functional ride-on toy that will bring joy to every child who rides it. Just remember that regular maintenance is key to keeping your Plasmacar in top condition and prolonging its playtime for years to come.


